

The Nursery in My Basement

I propagate a lot of plants in my basement. I mostly grow from seed but I root some cuttings down there. It is kind of my superpower, what allows me to grow a lot of cool, unusual plants on a relatively small budget. I do spend a fair amount of money each year on plants (okay, maybe an absurd amount, but who's counting? Certainly not me), but I get a huge bang for that buck by buying packets of seed instead of gallon perennials. And I get to grow a lot of really weird cool things.
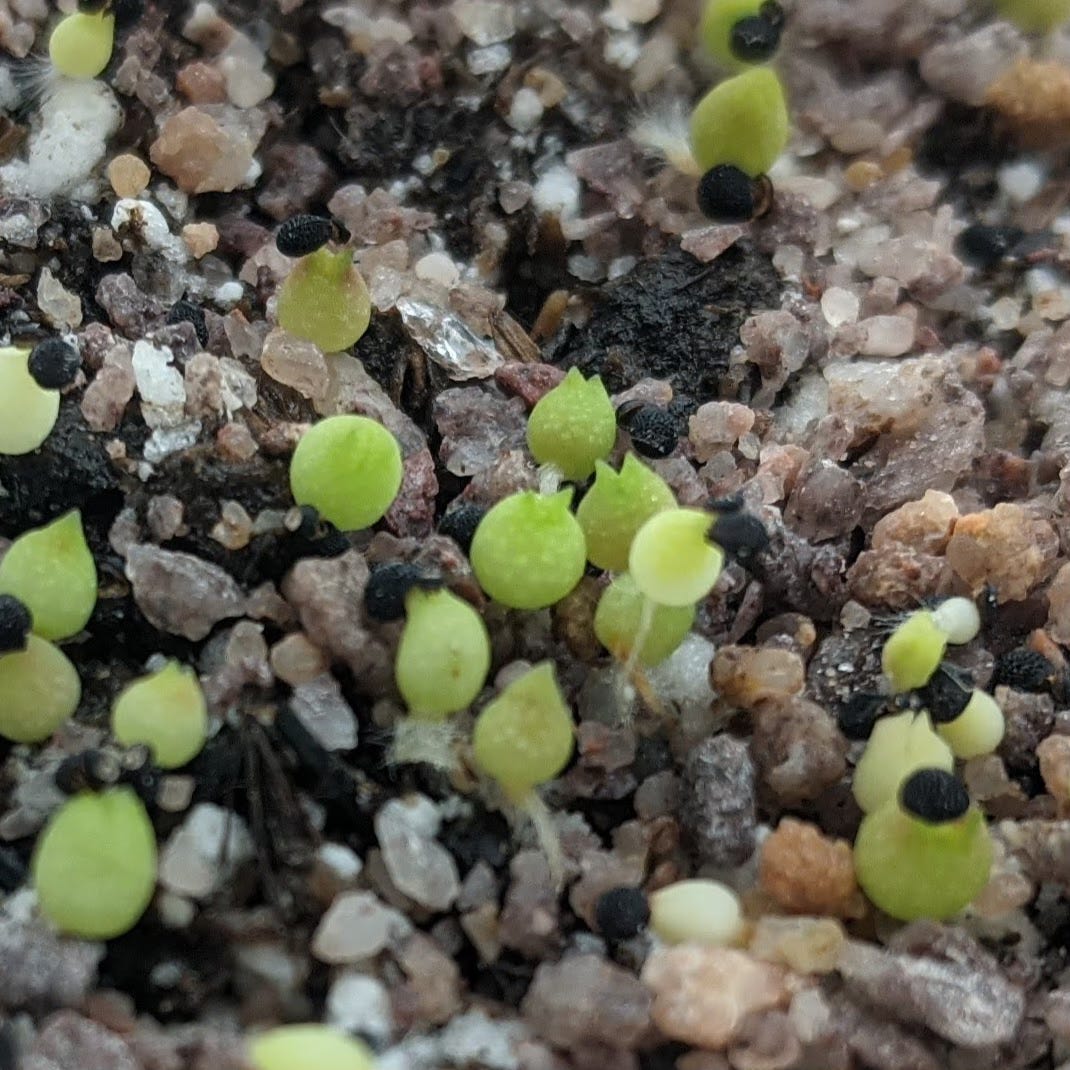
Cactus seeds (various species of Echinocereus) right after they’ve germinated.
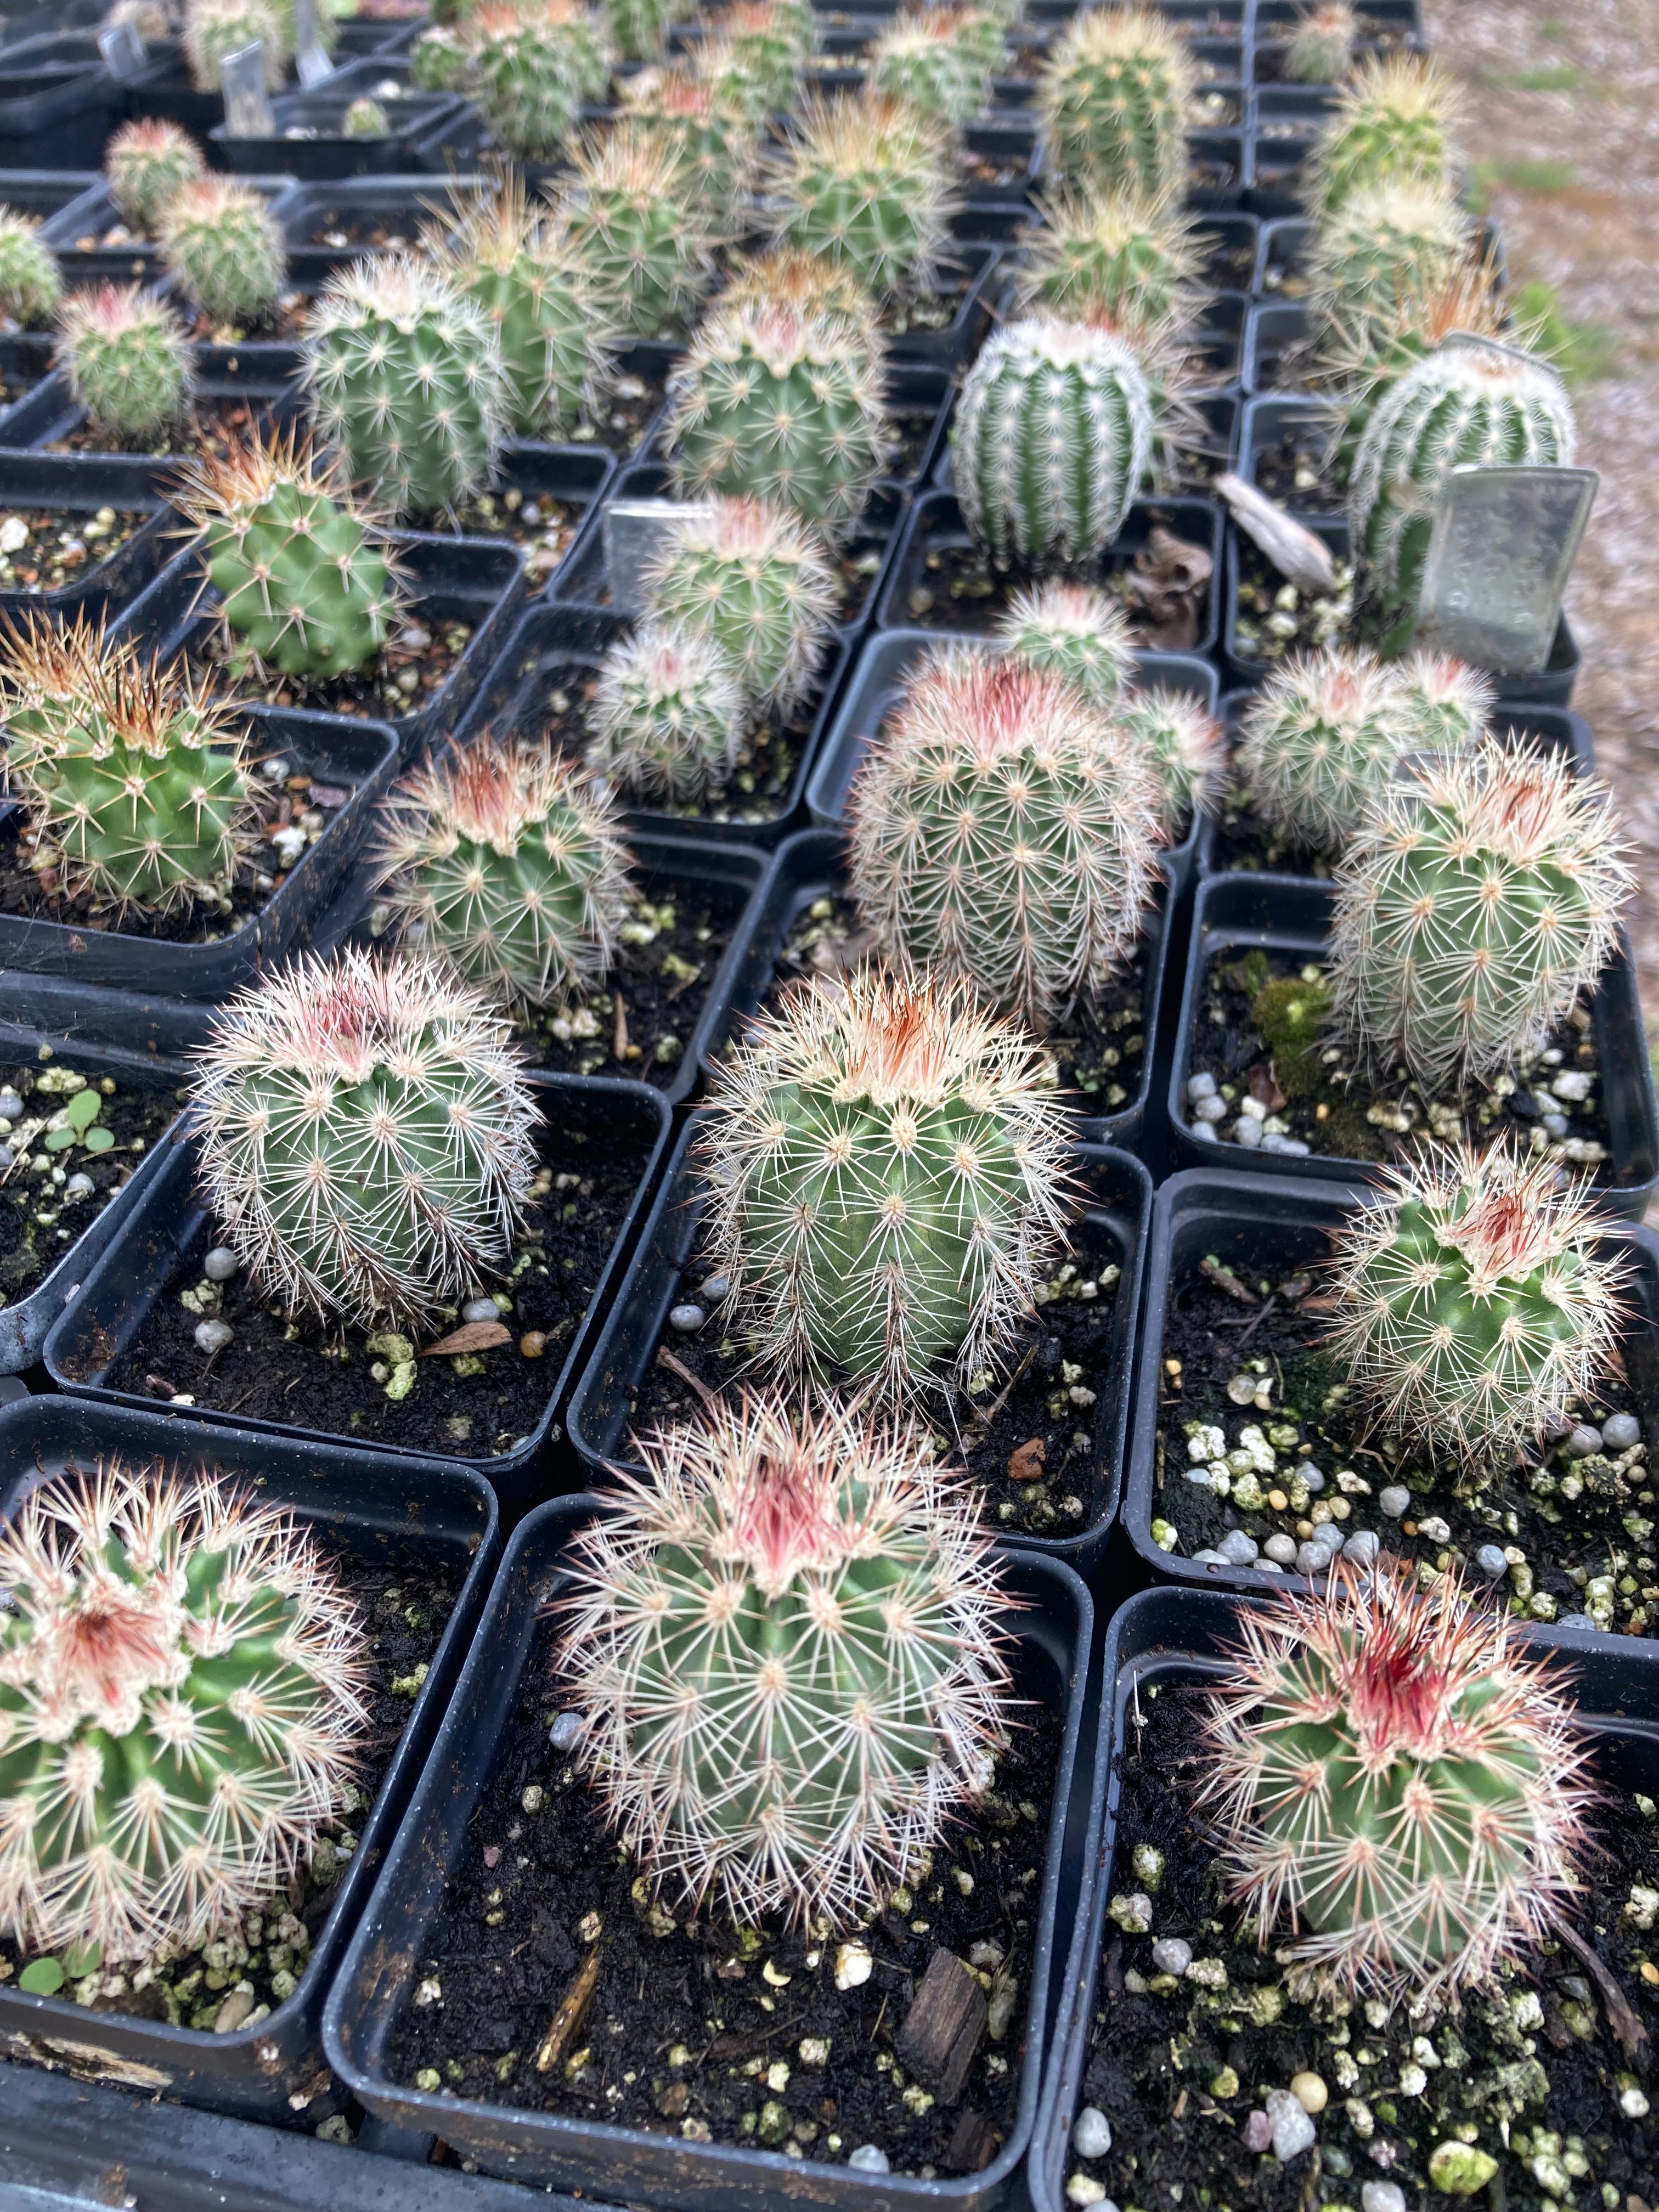
The same cactus seedlings about two years later.

And the some of the same cactus (Echinocereus reichenbachii) another year later blooming in the garden.
So, I thought I’d share the methods I use to produce plants at home. It isn’t the only system, and probably not the best one, but is the set of techniques and practices that have worked well for me.
I will say that though I’ve gotten pretty dang good at growing from seed at home, there are still failures. Trying new things is my favorite part of gardening, and failure is an inevitable part of that. And maybe that’s the first and most important lesson I should share here: It won’t always work, and that’s okay. If you follow me or other gardeners on social media you won’t see all of our failures because, well, who wants to take a picture of an empty pot of dead plants? But let me promise you that I have produced many a pot of dead plants. But dead plants just aren’t a big deal. Seeds are cheap. Learn from your failures and move on. Good gardeners have green thumbs because they’ve been stained by the blood of all the plants they have killed.
The Light Stand
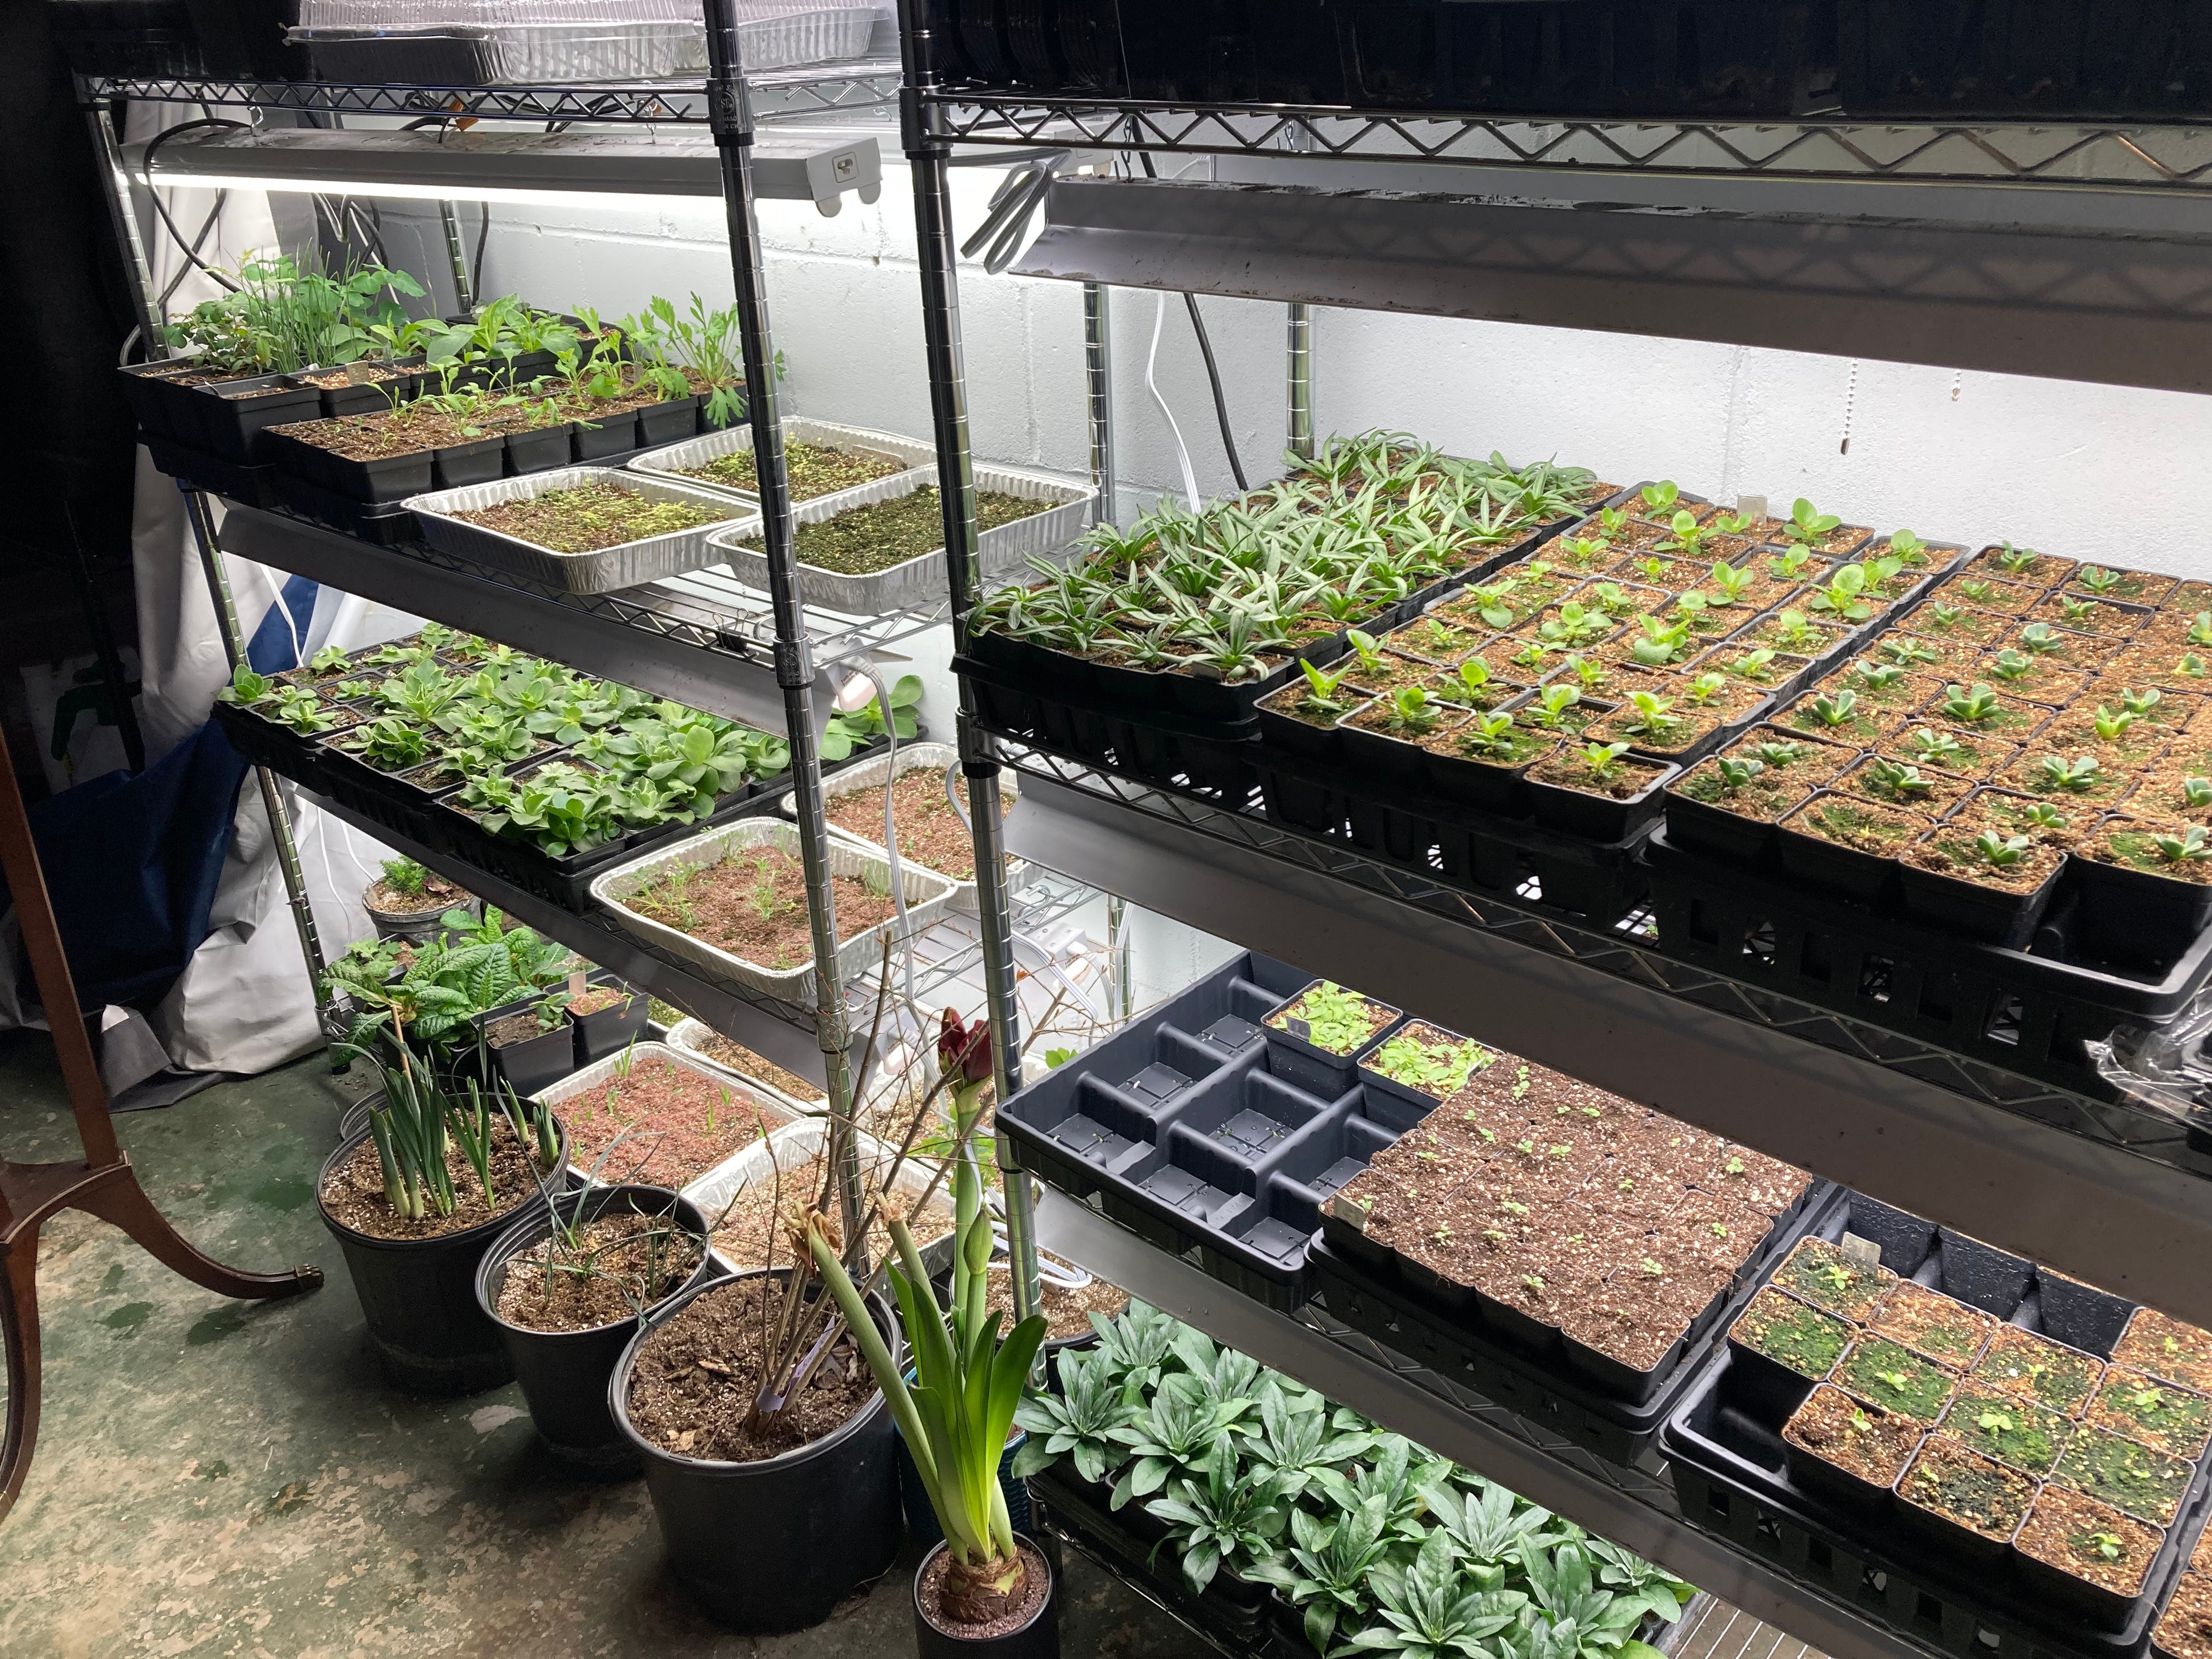
Here’s where the magic happens: my grow light stand. The shelf is a standard wire shelf you can get at any hardware store in North America. It is 18 inches by four feet (45 cm x 122 cm), and will pretty perfectly fit four standard nursery trays on each shelf.
The lights I use are simply two, four-foot cool white LED shop lights. When I first started growing indoors as a teenager, the only option was fluorescent lights, which aren’t great for growing plants. Cool white LEDs are incredible. They’re affordable, use very little electricity, and produce a great quality of light for photosynthesis. I do have one of those purple LED lights designed to produce just the wavelengths of light plants use to photosynthesize and I hate it. Plants grow fine under it, but it was expensive and the purple light is weird and makes plants look ugly.
I keep my lights on for 16 hours a day, and I use a timer. Always use a timer. Before I got a timer I inevitably forgot to turn them on and off each day. Timers are cheap. Just plug the lights into one and you never have to think about it again.
The one feature of my grow light stand that is pretty unusual is my curtains. I have thick curtains that I keep wrapped around them all the time, held in place with binder clips. My reasoning is pretty simple: Instead of letting the light flood out into the basement, I try to reflect it back to the plants, and thick white curtains do that pretty well. Years ago, I surrounded my lights with sheets of cardboard I had carefully covered with aluminum foil. I do not recommend it. The cardboard kept falling over and the foil kept coming off. Thick white curtains work beautifully. They may not reflect quite as much light as foil, but they are easy to move in and out of place when I work on my plants.
Having the curtains in place also makes it so I don’t need to move my lights up and down as my plants grow. Normally, the light intensity drops off rapidly as you move away from the lights, but the curtains bouncing light back mitigates that effect, so I never move my lights.
Temperature
I grow in my basement. Being underground, it stays a pretty consistent temperature between 50 or 60°F (10 to 15°C) all year. My lights to produce a little heat, so when I have them all running and the curtains wrapped around them it gets up to around 70°F/20°C, with the top shelves slightly warmer than the bottom ones. It is a pretty great temperature. It is a bit on the cool side for tropicals and some plants typically grown as annuals, but I mostly grow hardy perennials, and they thrive in those temperatures. If I am growing something that really craves heat, I have seedling heat mats I can add to bring the temp up, but I rarely actually use them.
I have lived without a basement, and there have been times when I had my lights in a garage or a closet instead. I didn’t like that as much as they were warmer. It is easy to warm things up if they are too cool, much harder to cool a space that is too warm.
Germination
I’ve germinated seeds a lot of different ways over the years, but recently I’ve settled on two basic systems.
Seed pots outside for the winter
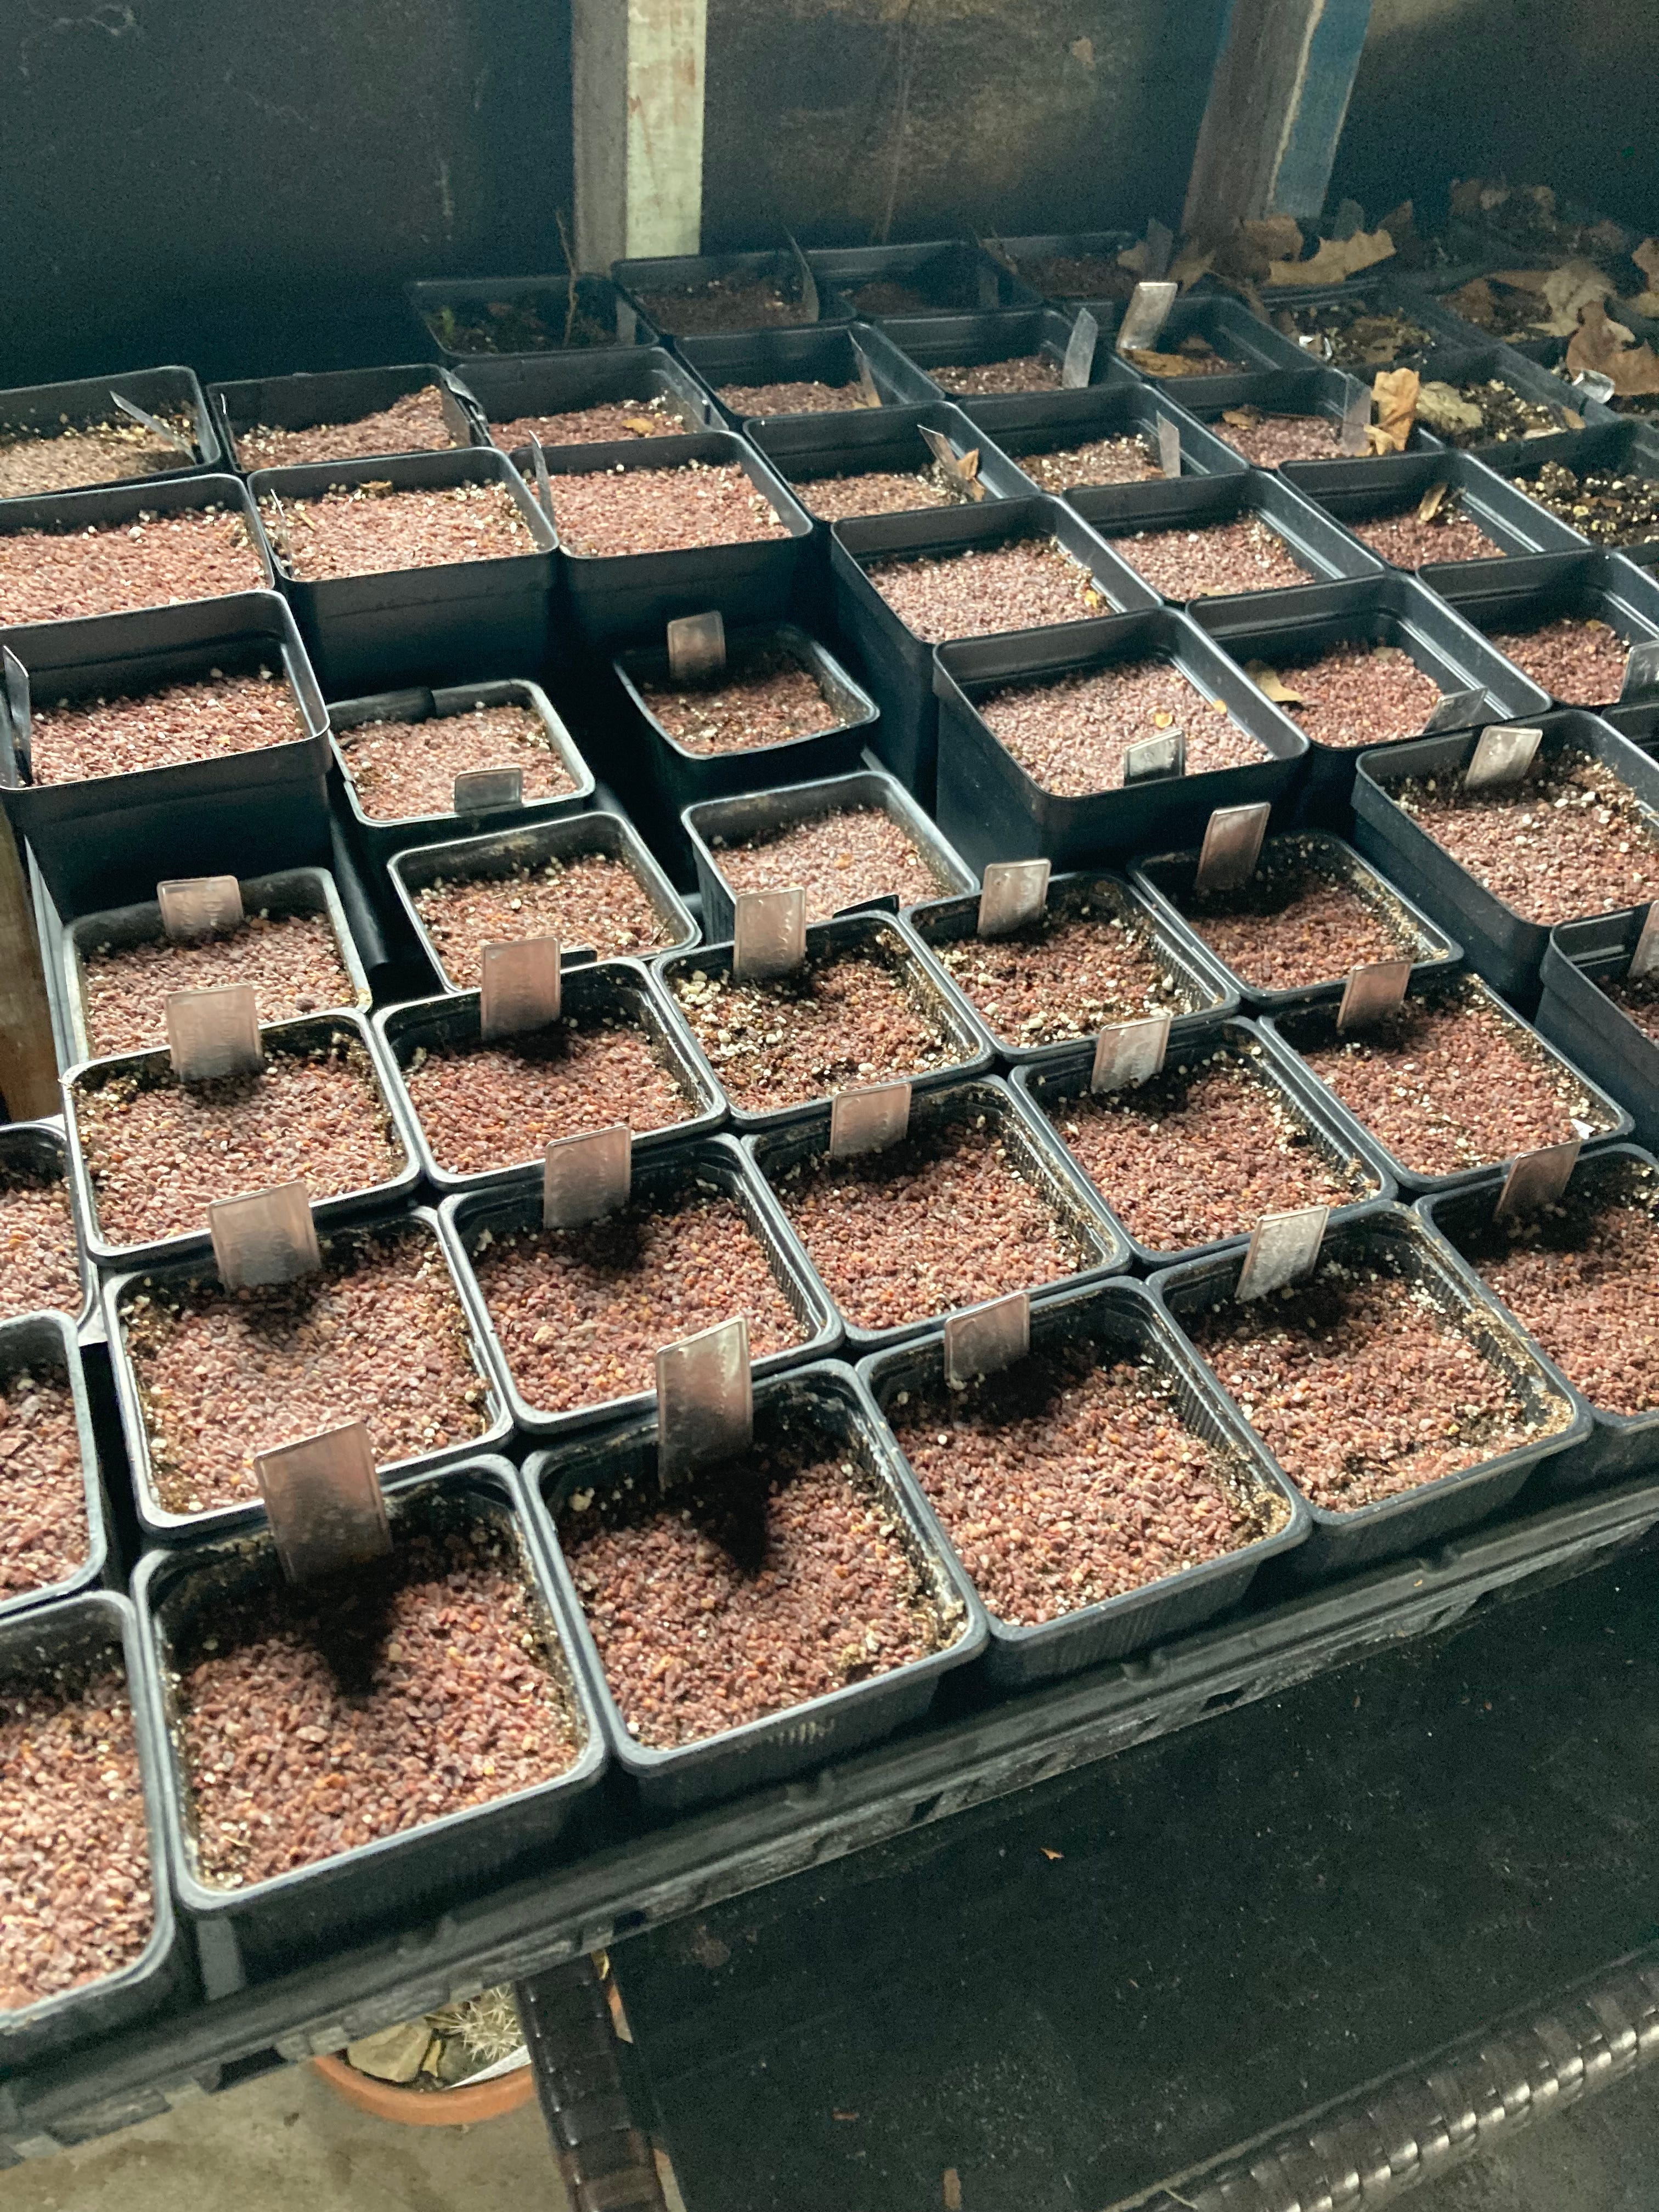
For seeds that need a cold treatment before they will germinate – which includes maybe half of hardy perennials and shrubs – I sow them in quart pots filled with regular potting soil (My preferred brand: Pro-Mix HP. I buy it in big compressed bales and go through a couple of them a year) and topped with a thin layer of chick grit (any old brand, I get it at a farm supply store near me) and put them outside in the fall. Recently, I’ve started covering everything with hardware cloth which has reduced squirrel damage significantly.
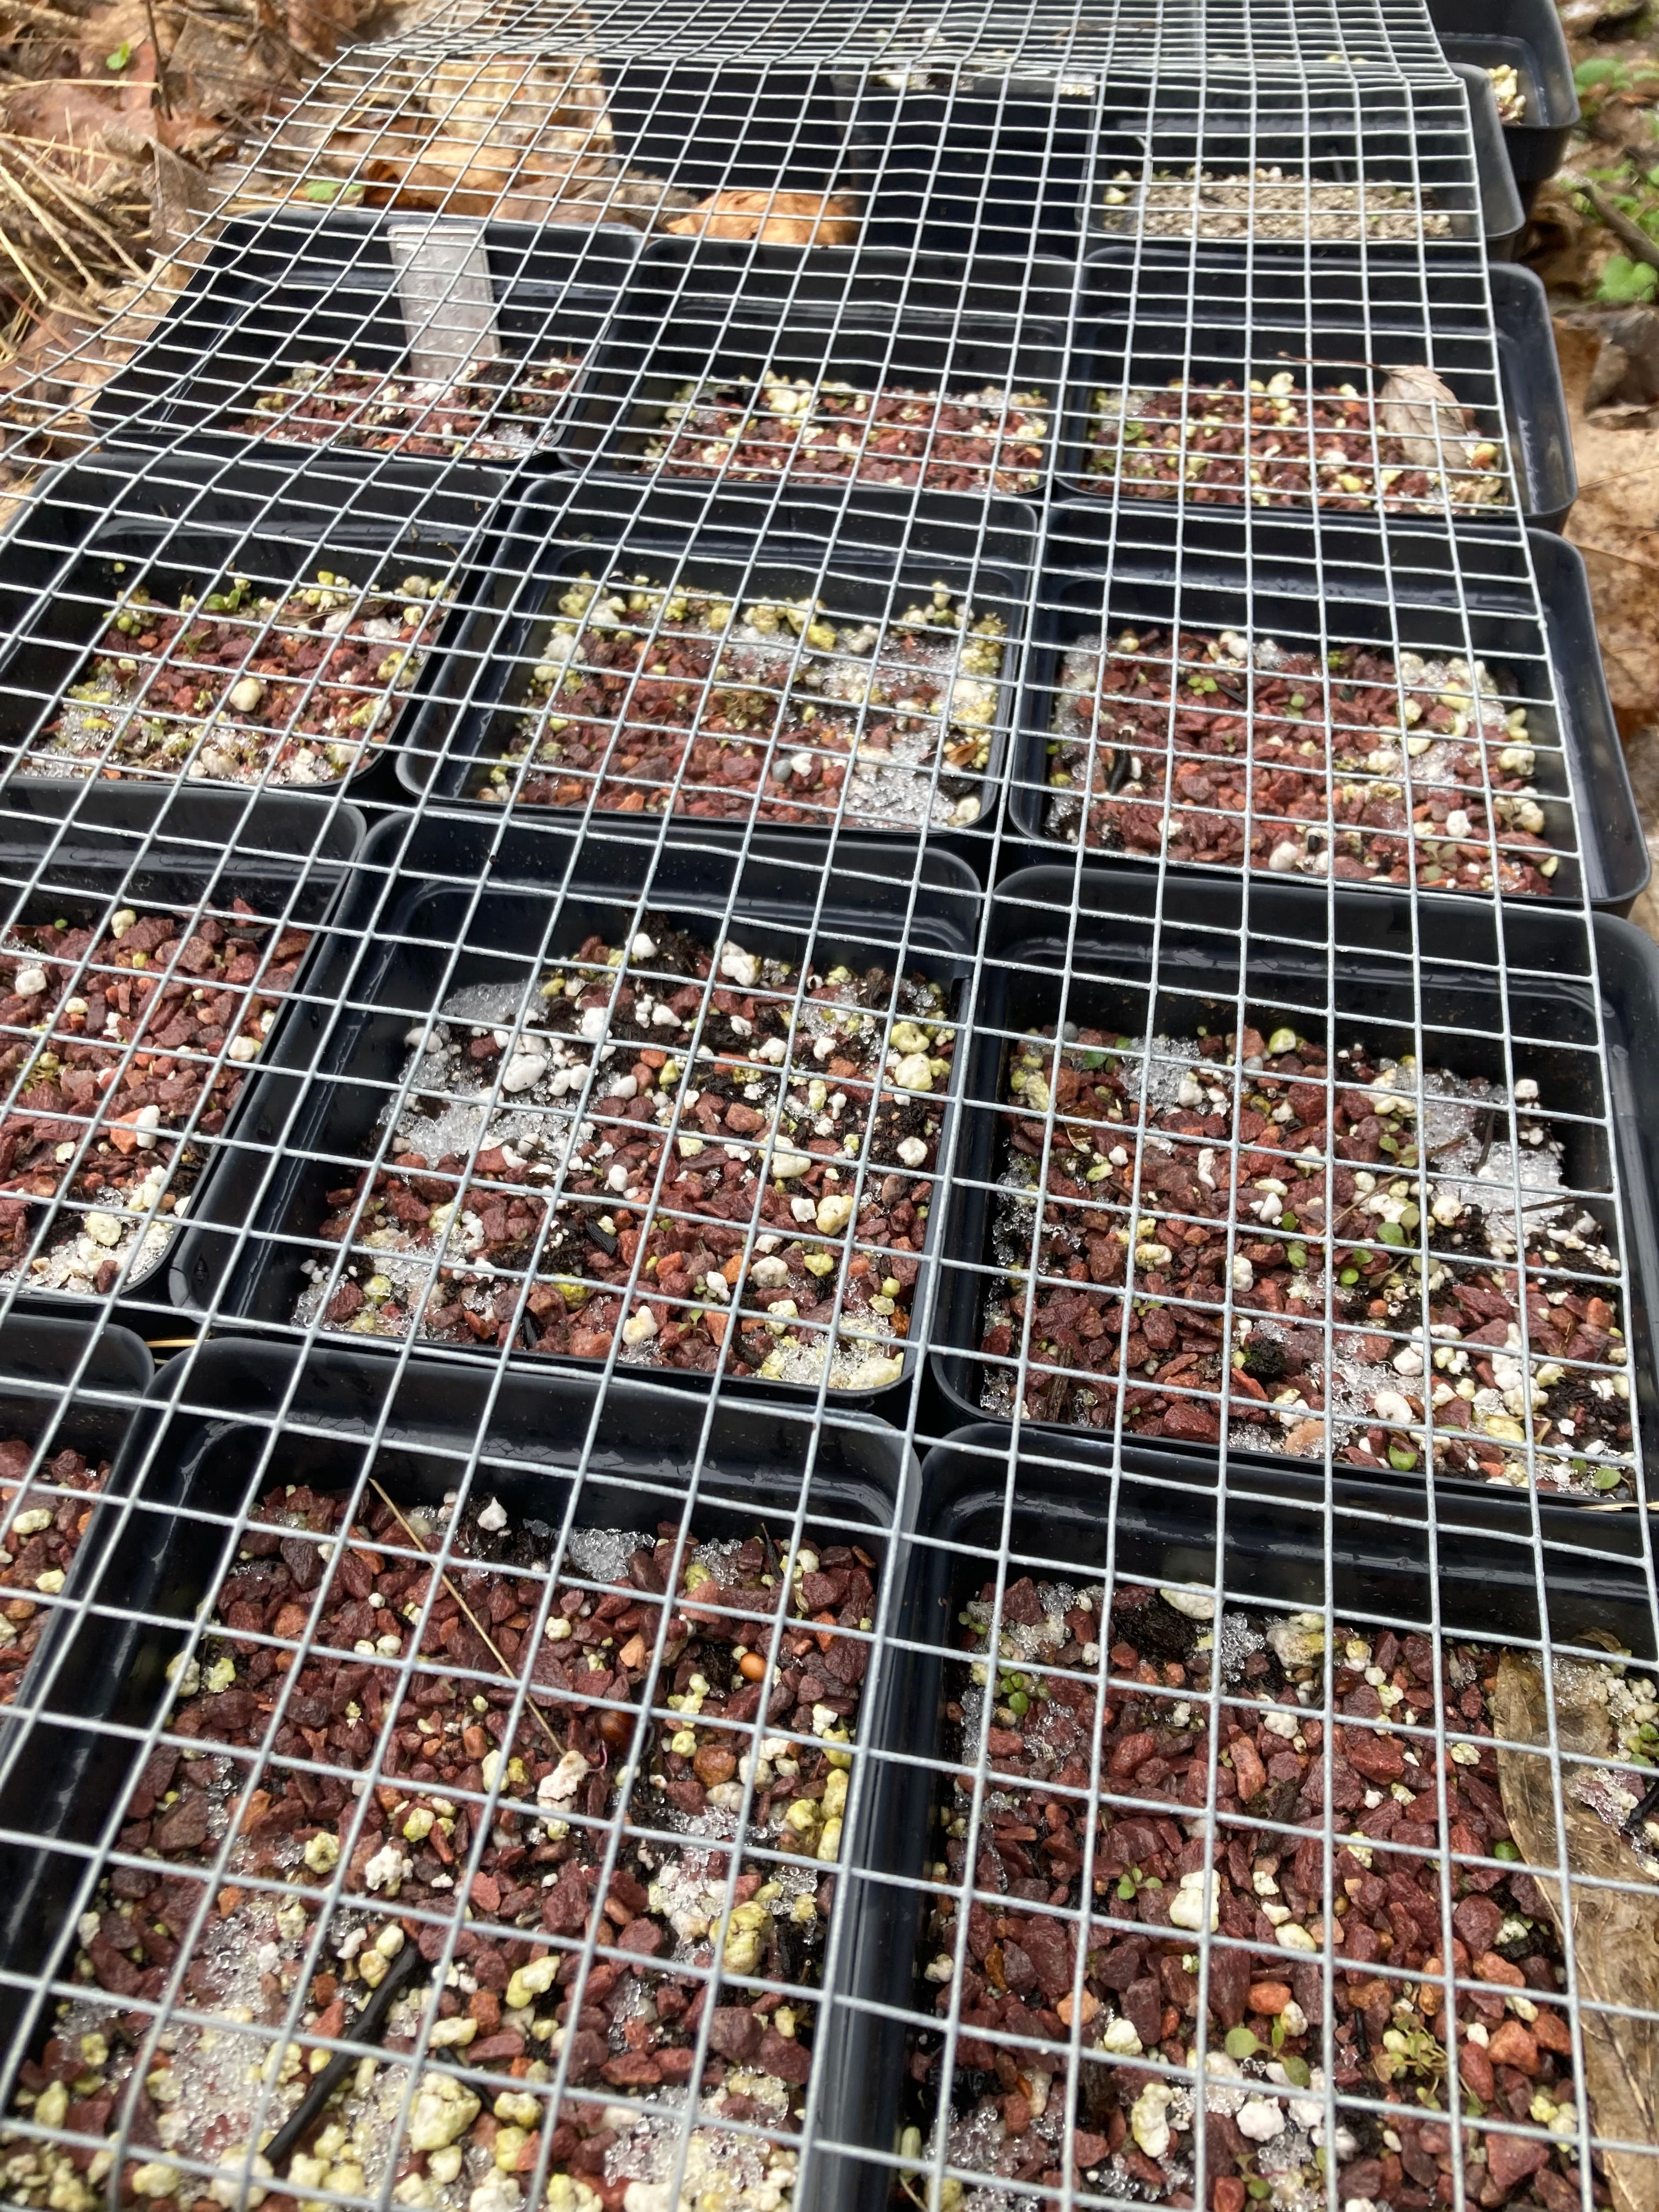
Seed pots covered with hardware cloth to keep the rodents at bay
I sometimes just leave the pots outside to germinate on their own, but if I want to get an earlier start I’ll bring them inside under the lights in February or so to start germinating earlier.
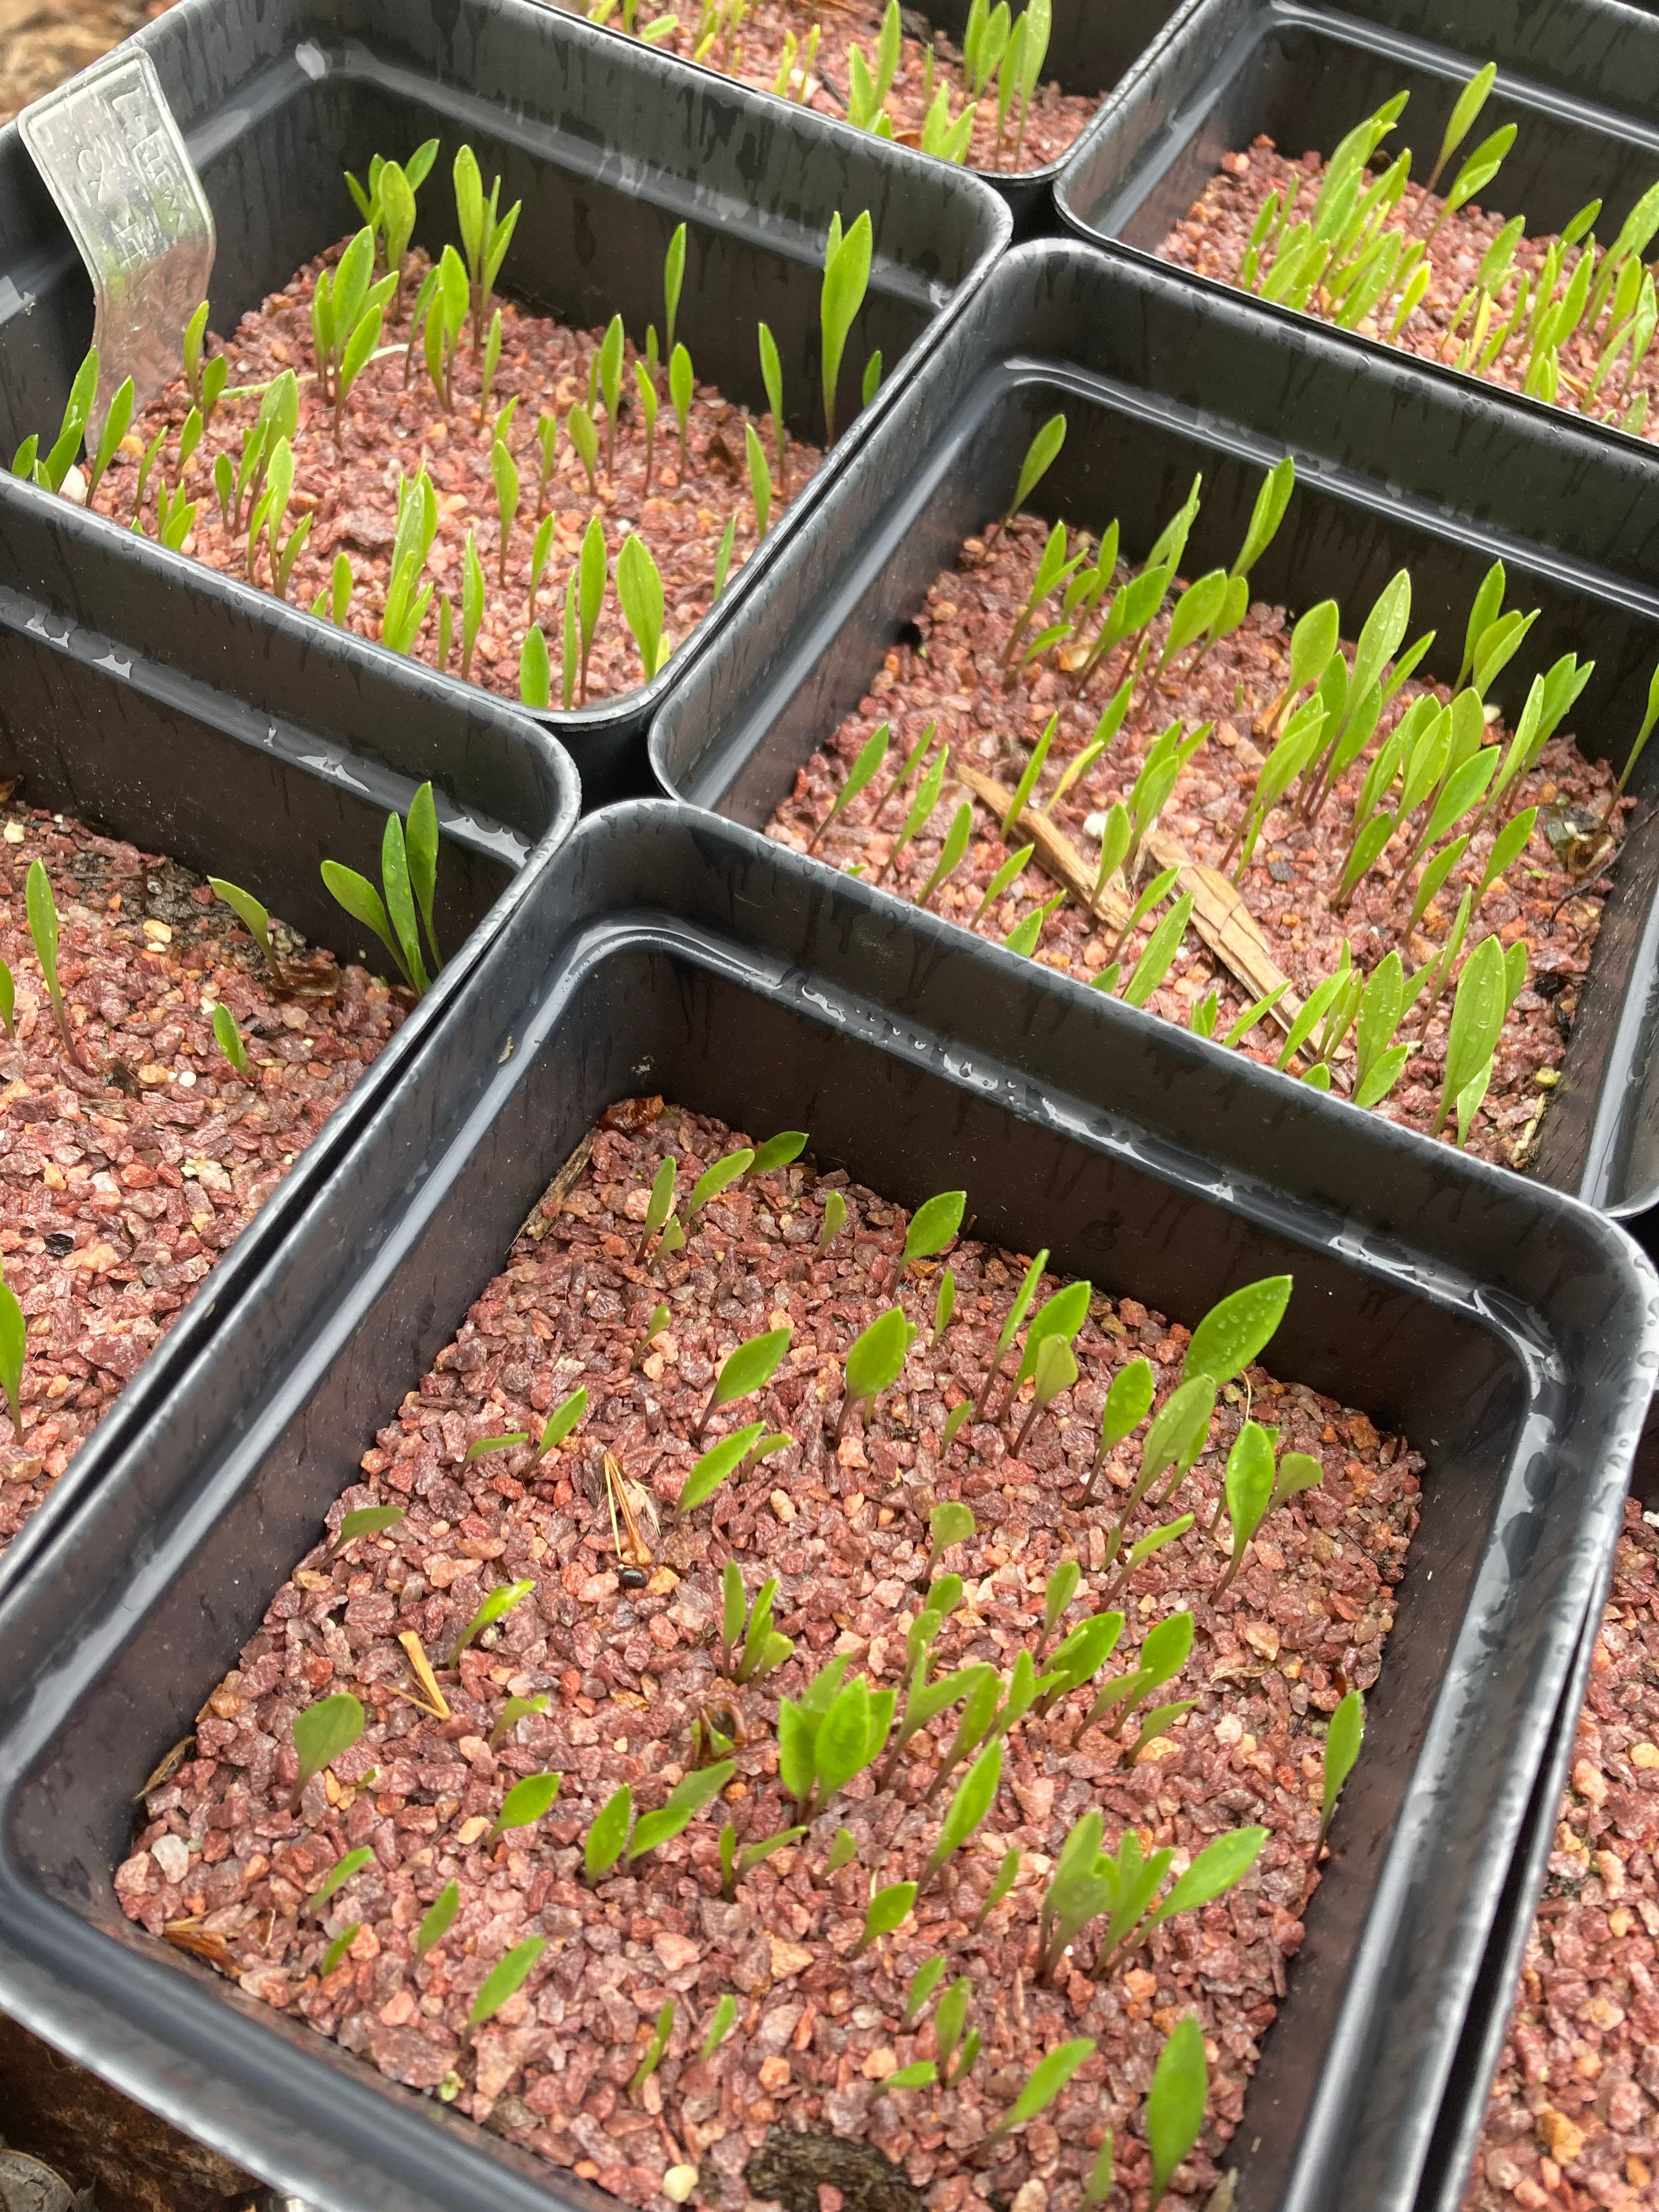
Lilies germinating in their seed pots outside
I sow seeds that don’t need cold treatment in pure vermiculite in aluminum casserole pans with clear plastic lids from the dollar store. I’ve used other containers and media in the past, but this is my current favorite combination.
Sowing cyclamen seeds
I’ve settled on vermiculite because I never seem to get damping off on it, and it holds a lot of water while being very loose and light, so it is very easy to transplant from without damaging plant roots. The downside is that it has no nutrients at all, so I have to either transplant right away or add a little fertilizer if I want to let seedlings bulk up before moving them. The casserole pans… well, they’re great. They’re cheap, easy to grab more of any time I need them, the clear plastic lids keep humidity high during germination, and they stay moist for weeks at a time without me having to water them.
Growing on
Once I have germination, whether indoors or out, I transplant my seedlings into individual pots, a process the British call “pricking out.” We Americans don’t seem to have a word for this, so I tend to say pricking out, though I feel slightly ridiculous every time I do.
Pricking out cyclamen seedlings
Potting up cyclamen seedlings
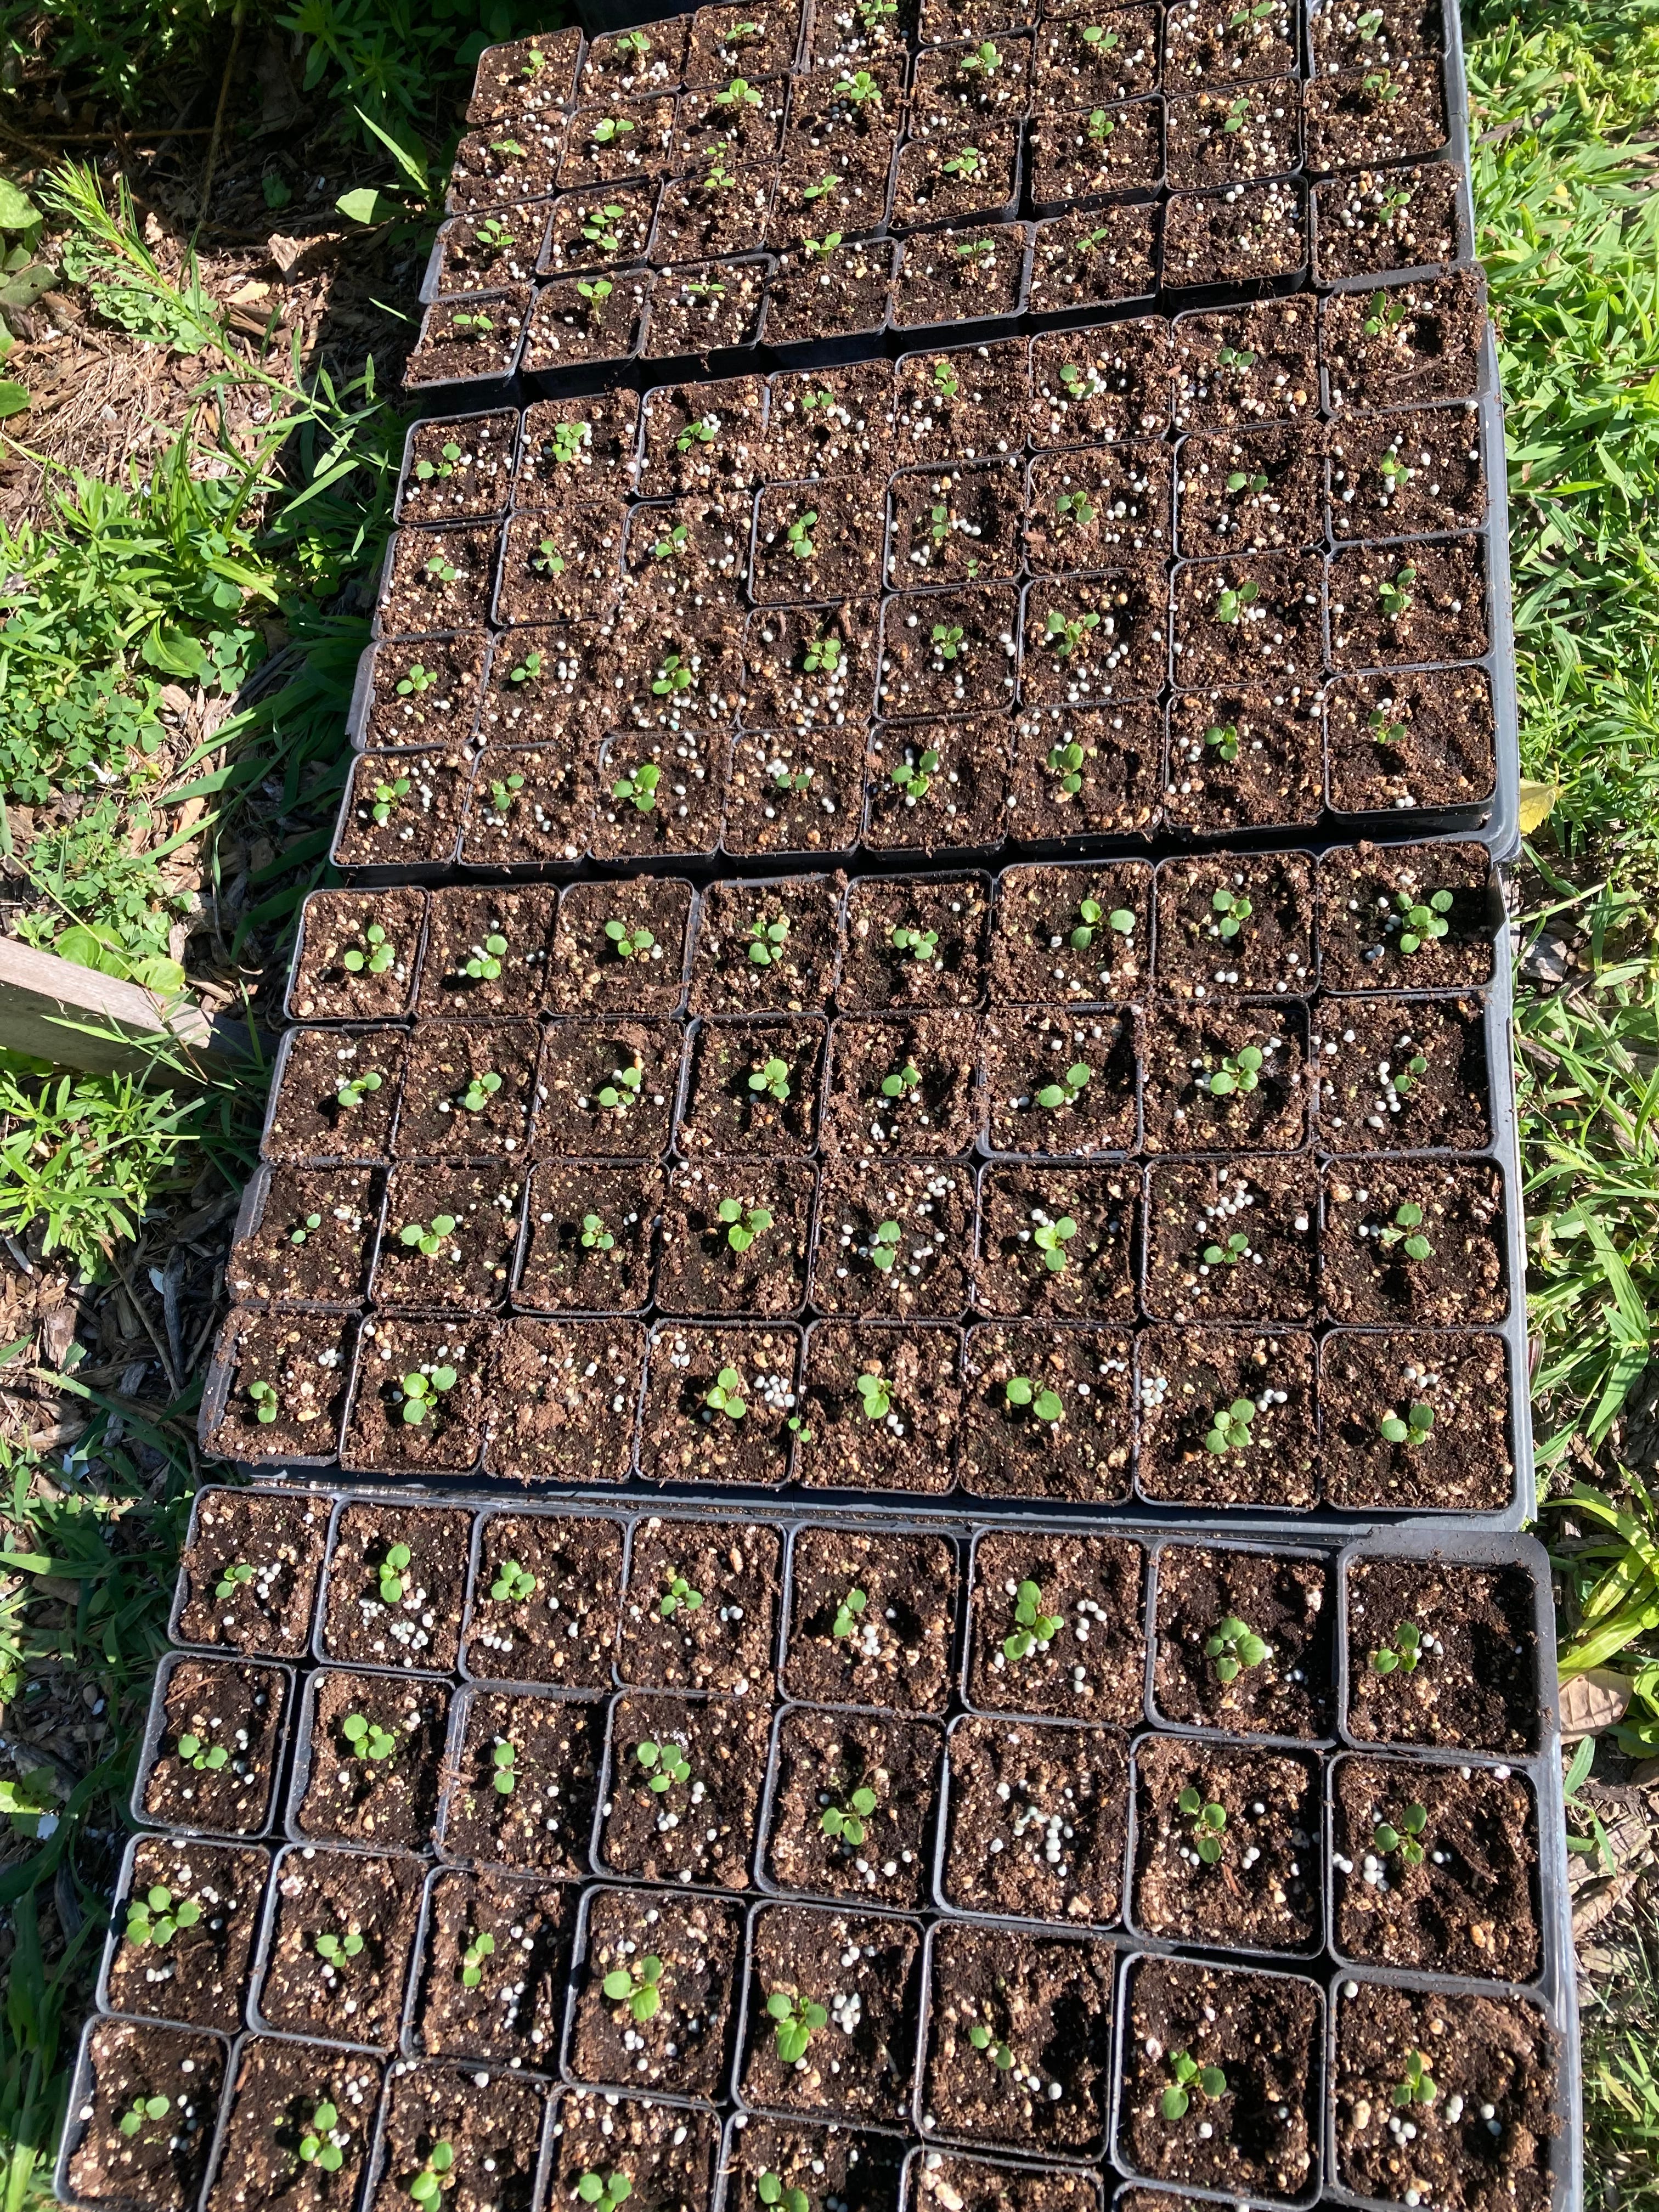
I like germinating in a community pot or tray and then transplanting because I end up with one seedling to each pot without wasting any seeds. I use Pro-Mix HP potting mix and fertilize with Nutricote (A slow-release fertilizer, essentially the better version of Osmocote). Sometimes I transplant very early when the seedlings are tiny. Other times, I let them grow in the vermiculite — with some fertilizer — for a while. It all depends on how fast the seedlings grow and how busy/impatient I am at the moment.
Pricking out tiny penstemon seedlings
While my seedlings are growing on, I try to take advantage of any unseasonably warm winter/early spring days and put them outside to get a little bit acclimated to real-world conditions. Ultraviolet light is notably missing from LED output, and I find it is good to get seedlings exposed to it as early as possible to stop them from burning when they eventually move out into the garden.
Seedlings enjoying a sunny day out in the garden
I don’t do any really organized hardening off process. I find it I use enough light indoors it just isn’t necessary. When it is nice, I put my seedlings outside, When it turns cold, I move them back indoors. Once we’re past our last frost and they’ve gotten big enough, I plant them.
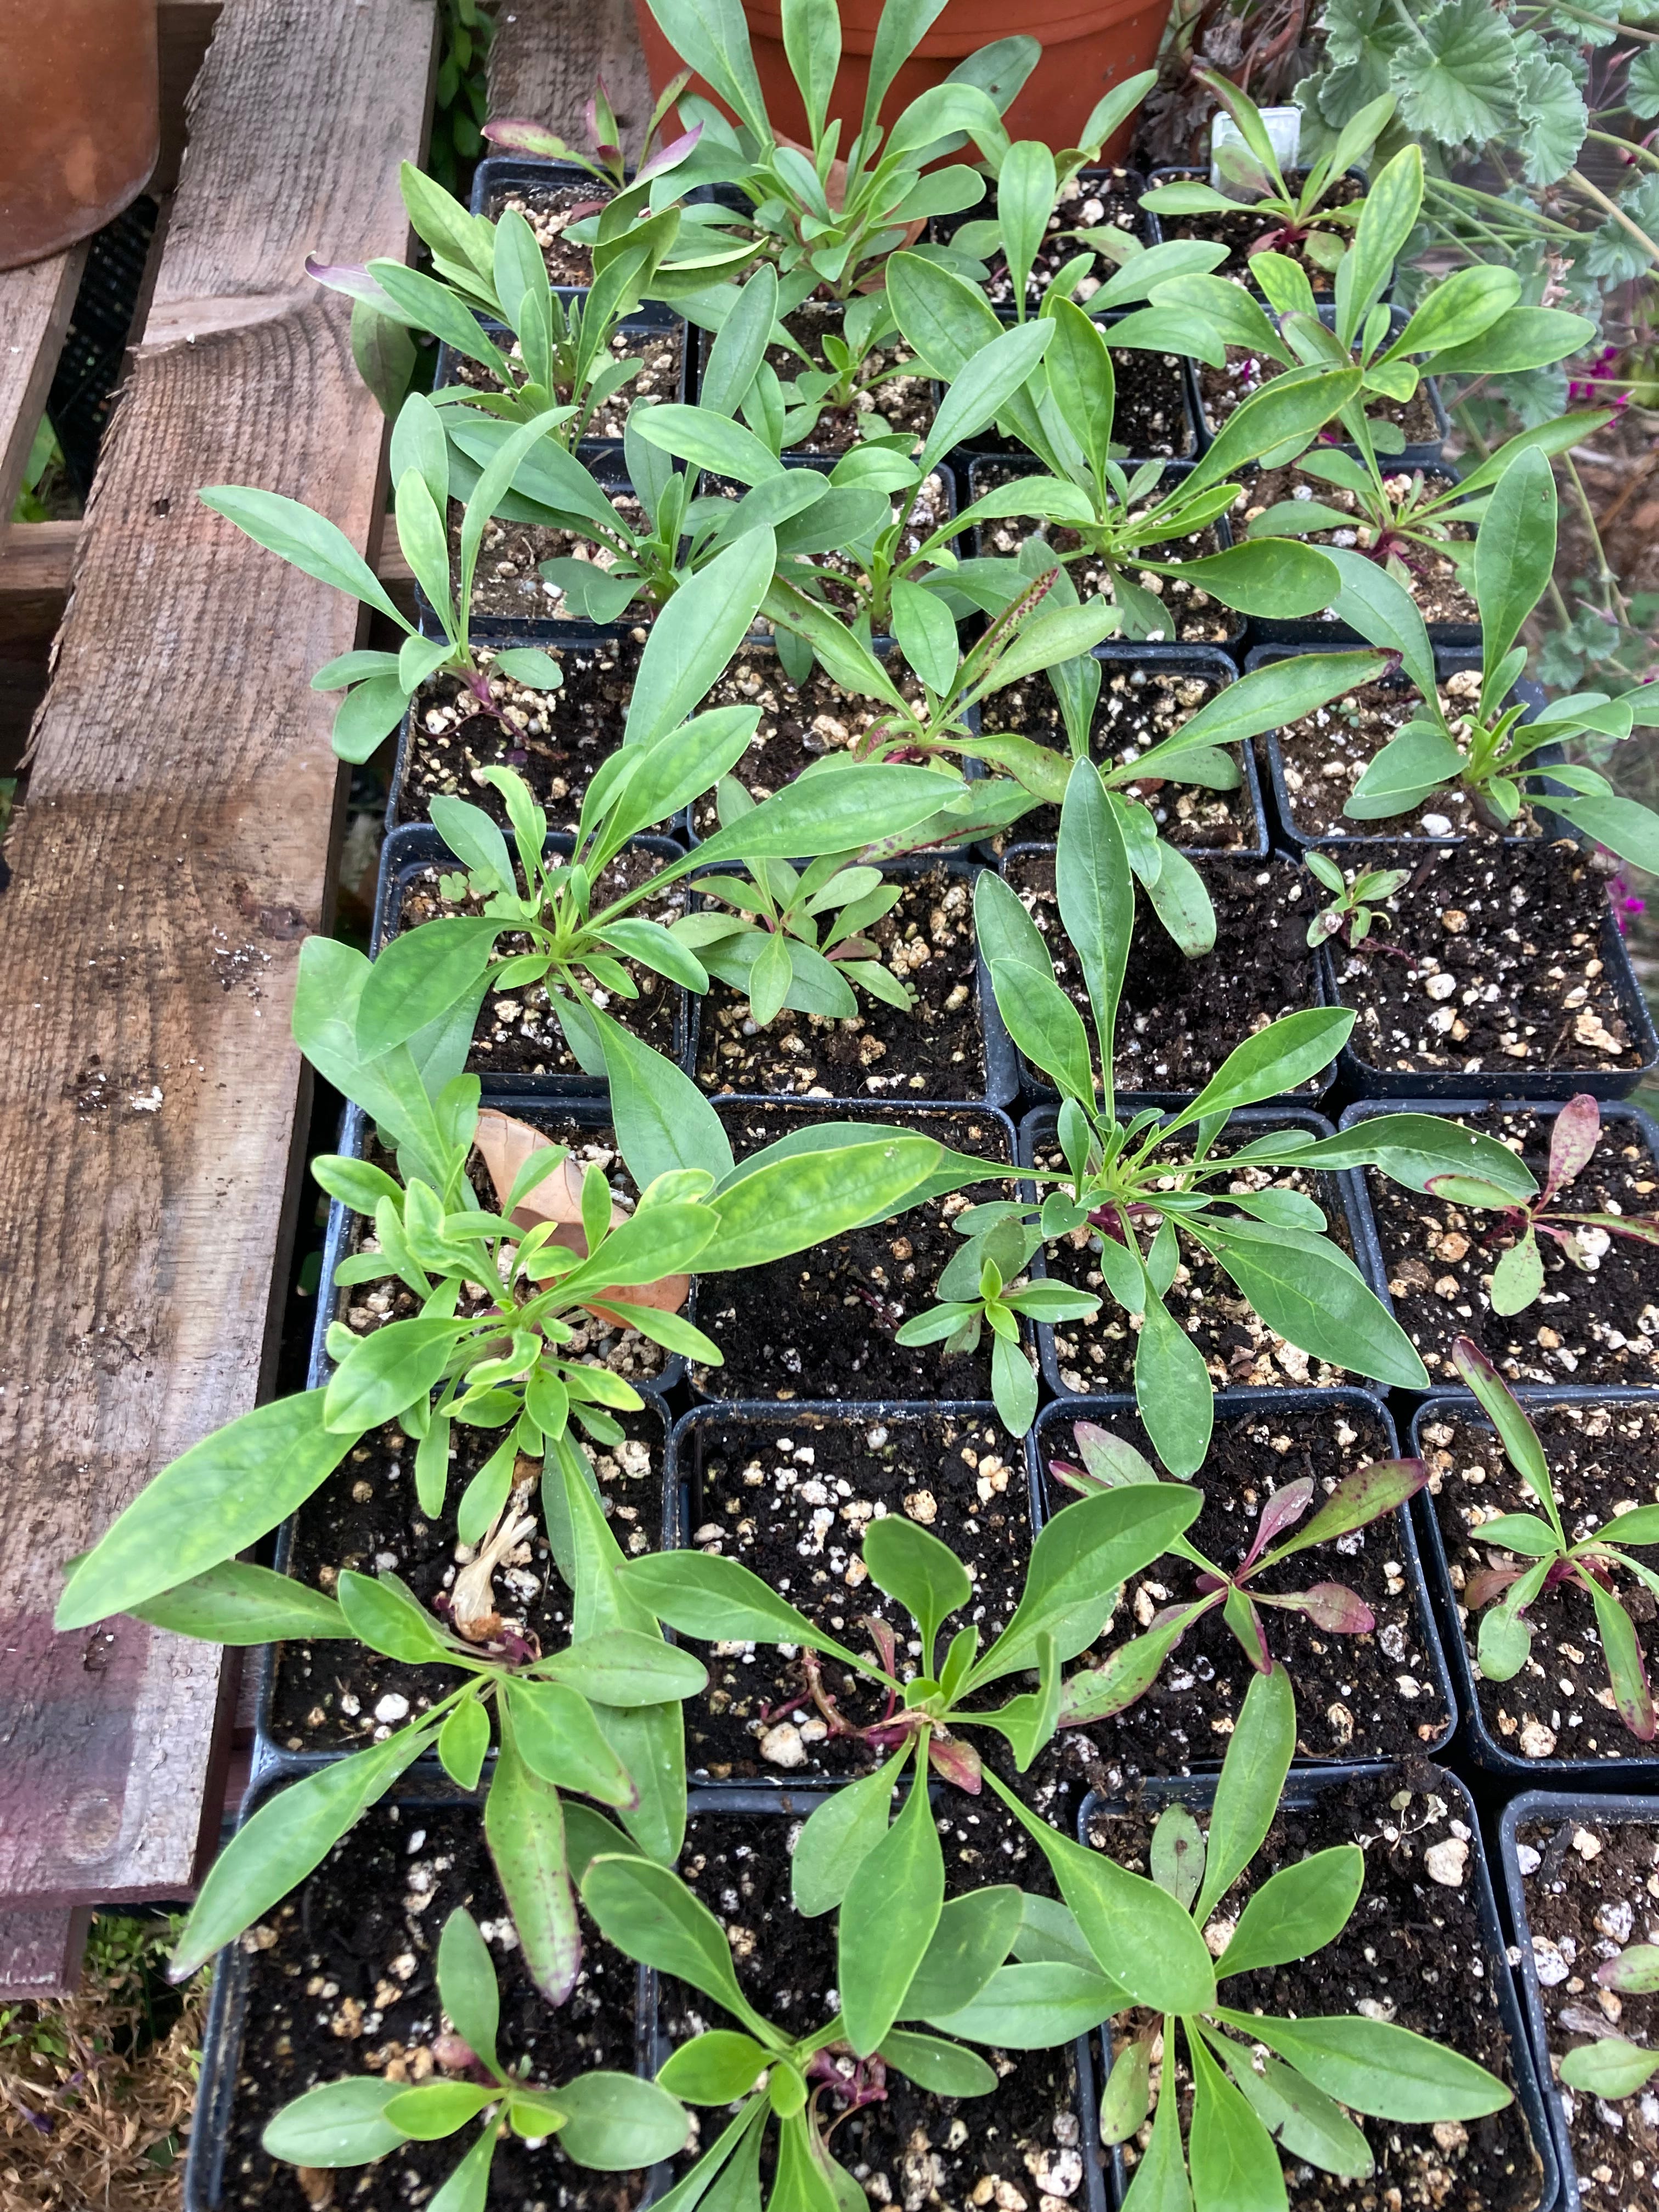
Penstemon seedlings ready to go out into the garden
So that’s my current seed-starting method. It works for me, for now. I’m sure it will continue to change as I keep experimenting and learning more. I hope it is a helpful starting point for you if you are thinking about starting some plants from seed, and I’d love to hear how you approach seed-starting.
Great line ...
>>Good gardeners have green thumbs because they’ve been stained by the blood of all the plants they have killed.<<
My husband and I have a deal. I don't comment on what he spends on bikes and he doesn't comment on what I spend on plants.